So, you’ve purchased IBM SPSS Modeler Premium and now you need to install it. This program is quite a bit larger and a bit more complicated to install than IBM’s other SPSS products, such as SPSS Statistics. In this post, we’ll discuss what you need to know before installation and we’ll provide a video tutorial for installing the software.
IBM SPSS System Requirements
The first thing to be aware of is the system requirements for your IBM SPSS software. Your computer must meet these system requirements to run IBM SPSS Modeler Premium.
Operating System Requirements:
- Linux: Ubuntu, RedHat
- Mac: OS X 10.11 or higher
- Windows: Windows 7, Windows 10
Hardware Requirements:
- Hard Drive: 20GB of free space
- Memory (RAM): 4 GB
- Processor (CPU): Intel Pentium, Intel i3, Intel i5, Intel i7
If you don’t know anything about your computer, then the general rule of thumb here is if you have a computer that was made in the last 5 – 7 years, it should be able to run SPSS Modeler. The main thing is to make sure you have 20 GB of hard drive space available.
Tutorial Video
Written Instructions
Note: I am on a Windows machine and do not have a Mac available to me to provide instructions on. However, the process should be similar between Mac and Windows.
If you purchased your product through Studica, you first need to download the software. To do this, you will need to log in to your account using this link.
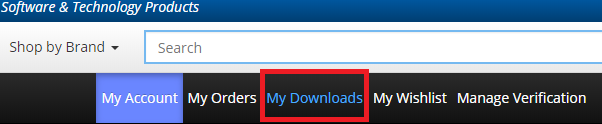
Once you are logged in, click the “My downloads” option near the top of the site, as seen here:
In your downloads list, you will have your SPSS Modeler Premium 18.1 product listed. Choose the download link.
Once you are on the download page, scroll down and find either the Mac or Windows section. You need to download both SPSS Modeler Client and SPSS modeler Client Premium, as seen here:

Both files are relatively large and may take a while to download depending on your internet connection. I recommend using a hard-wired ethernet connection to ensure proper, uninterrupted downloading. If you are on a stable WiFi network, however, you should be fine.
Installing the Software
Follow these instructions to install the software. NOTE: Modeler client must be installed before the Modeler Premium client:
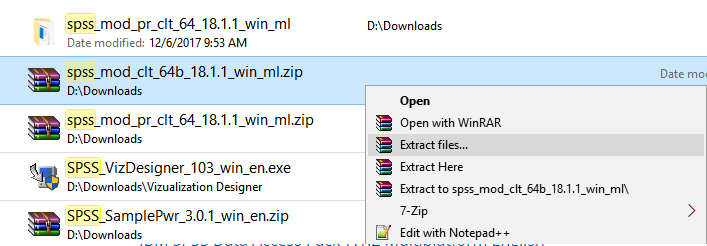
- Find the two files that you just downloaded. By default, they should be in your Downloads folder.
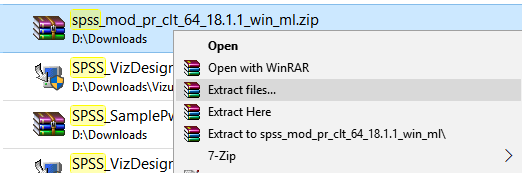
- Find the file called “1.1_win_ml”. Right-click the file and choose “Extract all”. NOTE: depending on your version of Windows and what programs you have installed, you may see “Extract Files…” instead of “Extract All…”. Either option is fine.
- A window will open. Leave all the options default and choose to extract the files.
- This will begin the file extraction process. Depending on your computer, this process could take a while.
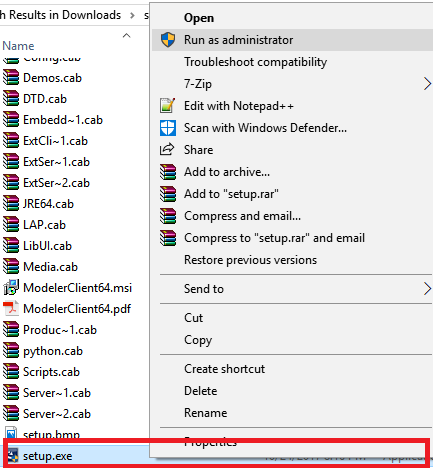
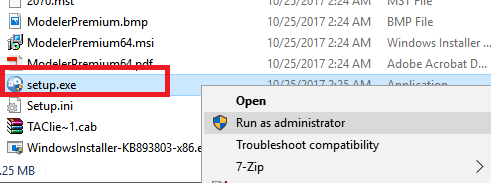
- Once the extraction is done, a folder will open. Inside of this folder, scroll down to the file called “setup” and right-click on it and choose “run as Administrator”.
- Go ahead and click through the installation wizard. Leave any options set to the default option. Accept any license agreements.
- When it’s finished installing, uncheck the option to open SPSS Modeler. If you are asked to reboot your computer, choose “No”.
- Now, we need to install the Premium component. Go back to your downloads folder and find the file called “1.1_win_ml”. Right-click this file and choose “Extract All…”
- On the extraction window, leave the options default and choose to extract. The files will begin extracting.
- Once the files are extracted, a window will open. In this window, scroll down to the “Setup” file and right-click it and choose “Run as Administrator”
- Once the wizard opens, click “Next” and leave any options default. Proceed through the wizard until the software begins to install.
- The software should finish installing.
Licensing the Software
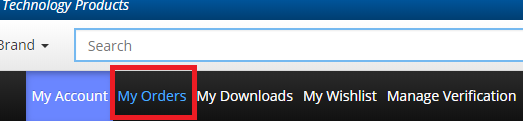
First, you will need your authorization code and an internet connection to perform this step. If you do not have your authorization code, you will need to contact the reseller you purchased from and get it. If you purchased with Studica, you can get your authorization code by logging into your account. Once logged in, you can click the “My Orders” link near the top of the page. On this page, you will see your product listed along with an authorization code.
Once you have your authorization code, you are ready to activate your product.
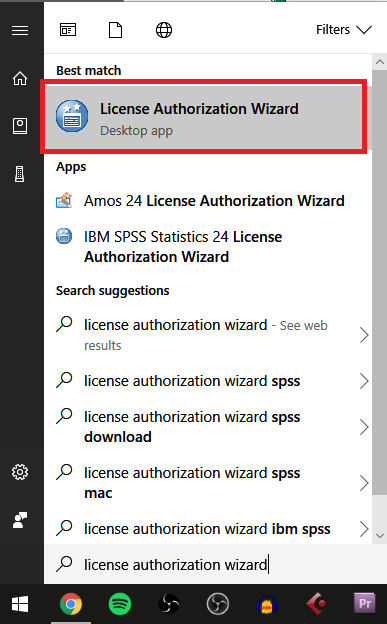
- Go to your start menu and type “License Authorization Wizard”
- You will see a “License Authorization Wizard” application show up. Right-click this application and choose “run as administrator”
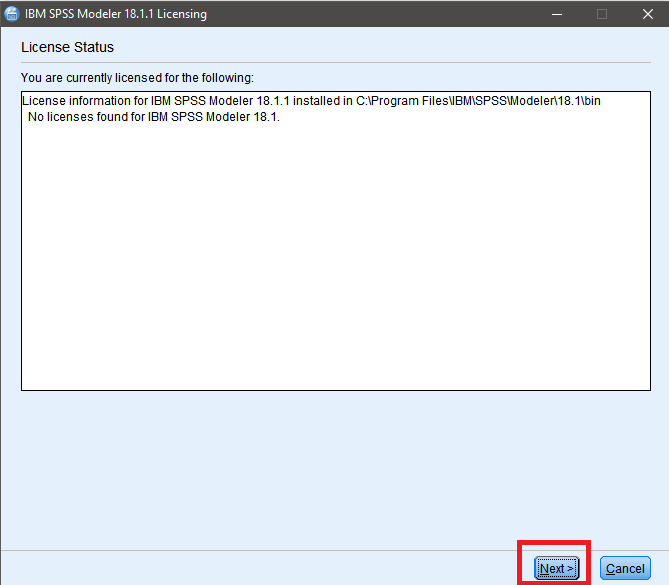
- Once the wizard is open, click “Next”
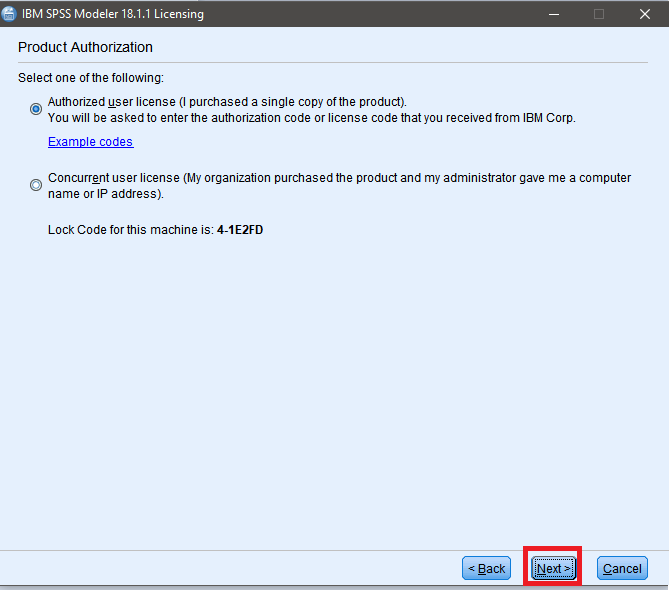
- Next, leave the default option selected and click “Next”
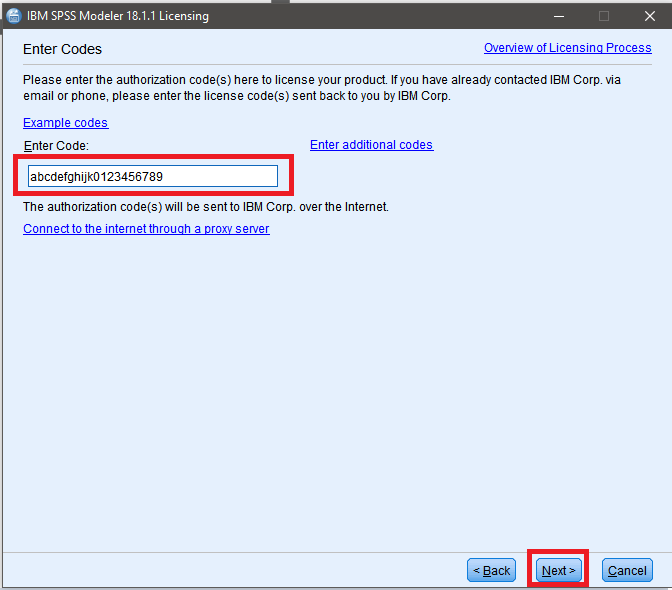
- You will be asked for your authorization code. Put in your 20-digit authorization code and click “next”
- If everything went well, it will say the licensing has been successful.
Conclusion
At this point, you will probably want to restart your computer just to be sure everything is fully installed and ready to go. One last thing to consider is that you may not see an SPSS Modeler icon on your desktop. If this is the case, you will need to find the program by going to your Start menu and typing “SPSS modeler”. You should see an “IBM SPSS Modeler 18.1” application show up. You can click on this application to open it. Additionally, you can right-click on it and choose “Pin to taskbar” or “Pin to start” for easier access to the program.
That’s all there is to it. Thanks for reading! Visit Studica’s blog for other helpful articles on IBM SPSS Statistics such as how to fix missing toolbars, etc.
Share this Post