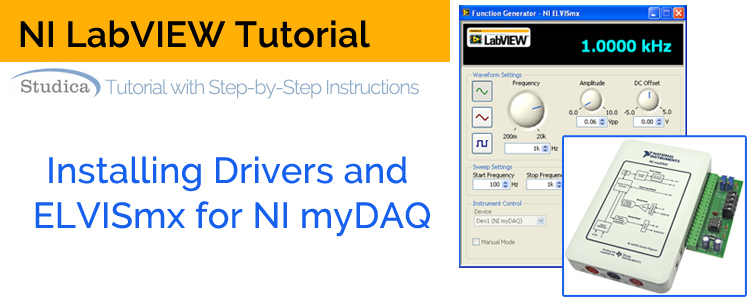
The NI myDAQ is a versatile data acquisition device that can be used with NI LabVIEW software. We’ve written many tutorials and informational blogs about the myDAQ. This post, however, will outline how to install the necessary drivers and software for the myDAQ.
Why Do I Need Drivers with LabVIEW?
When a computer needs to interact with some piece of external hardware, like the myDAQ, it needs instructions on how to utilize that piece of hardware. Hardware drivers accomplish this goal. For the myDAQ, the drivers must be installed before you can properly use the myDAQ for data acquisition.
It’s possible that you already have LabVIEW installed, but when you try to use the myDAQ for data acquisition you can’t do so. Maybe you placed the DAQ Assist block in your block diagram but LabVIEW is unable to communicate with the myDAQ. Or maybe you don’t have the DAQ Assist block in your block menu at all. Both issues point to a lack of drivers as the culprit.
What is ELVISmx Software?
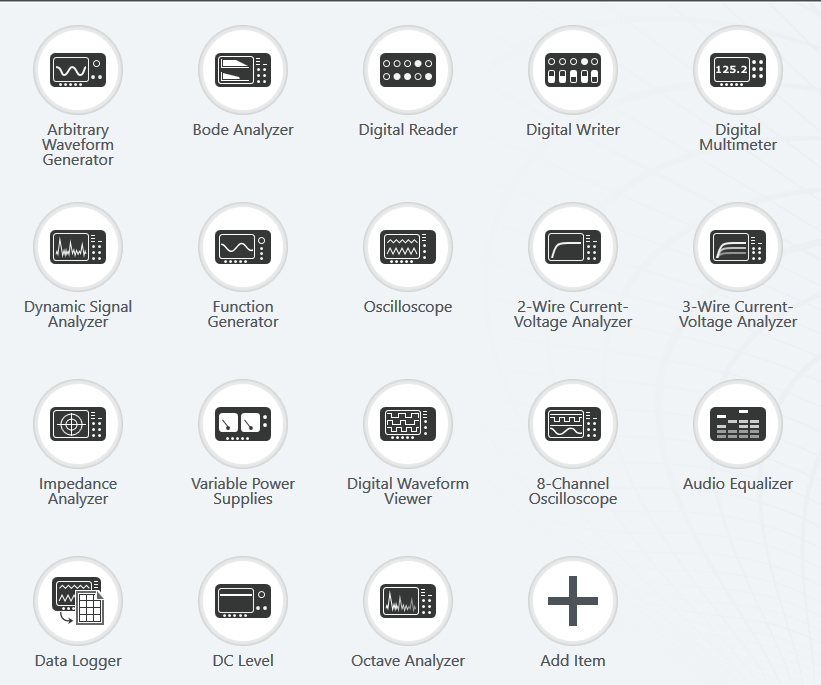
The ELVISmx software is included with the myDAQ drivers. The software offers a variety of data acquisition features, such as an oscilloscope, digital multimeter, and an audio equalizer. These modules can be useful for testing connections or manipulating incoming and outgoing data. The ELVISmx software is not a requirement for myDAQ compatibility with LabVIEW. However, the myDAQ drivers come with the software regardless.
How Do I Download and Install Drivers?
For Windows¸ you will want to download the drivers.
For Mac, you will want to download the drivers.
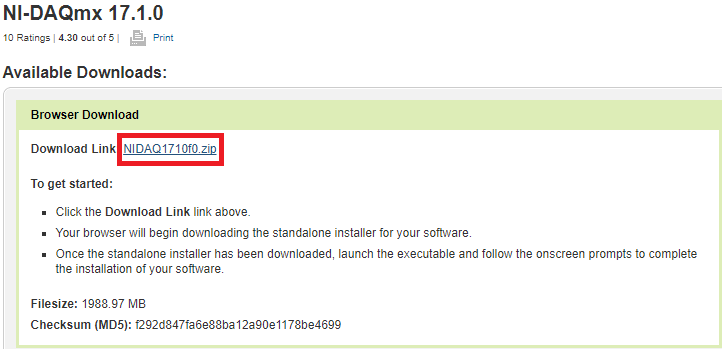
For both platforms, you will be brought to a page that has a download link. Click the download link to begin downloading the drivers.
NOTE: The Mac download will be a .dmg file.

Windows Installation
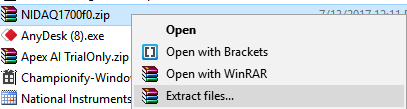
On Windows, once the file is done downloading, you need to browse to your downloads folder and right-click the file and choose “Extract Files”. NOTE: In my screenshot, below, my zip file is an older version than the file linked to above.
Once the files are extracted, a folder of the same name should open. Inside of this folder, right-click the “Setup” file and choose “Run as Administrator”.

Once the installer is open, you can simply use the default settings for everything and click “Next” when prompted to do so.
The installation process can be quick or slow depending on your computer. Be patient.
When the installation is finished, restart your computer.
Mac Installation
Once the dmg file is done downloading, all you need to do is double-click the dmg file to run it. Follow the instructions on the installation wizard to install the software. You can leave all the settings default.
The installation process can be quick or slow depending on your computer. Be patient.
Conclusion
That’s all there is to it. Once the drivers are installed, you’ll be able to access the ELVISmx tools and the myDAQ blocks in LabVIEW. Now you can get started on some fun projects! Enjoy!
Explore National Instruments education offerings for students & faculty. Browse NI Textbooks, miniSystems, and accessories. View NI for High School offerings. Studica offers a variety of software, robotics, electronics, and other technology products at academic discounts. Stay connected to Studica for special discounts, new releases, and more. Sign up for Studica’s newsletter. (Currently, available in the USA and Canada.)
Share this Post